 |
| the before picture. a forlorn-looking expanse of bluegrass/ryegrass lawn with generous portions of creeping charlie. |
This is a story told mostly in photos, because there's really no other way to tell it. These are old photos, take in the spring and summer of 2009, the year we killed our front lawn.
The previous year our street had been under construction pretty much non-stop, with new sewers, gas lines, electric lights and new curbs all being put in at the same time. It was a massive construction project, wherein the city of St. Paul updated everything on and under our street in one fell swoop. It was a horrible, dusty summer, and the whole neighborhood stayed indoors most of the time.
2009 was also the year that our kids turned one and two. Our house was a chaotic mess of noise and diapers and annoyingly cheerful kids' music CDs. It was also the year that the economy really tanked, and I spent more time that winter at home with the kids, as my work had asked me to not come in as often for a while.
When spring came, I needed a big project to get me out of the house.
It seemed like the whole neighborhood was landscaping at the same time- taking the rough edges off of the new construction, and enjoying the fact that we could be outside in relative peace again. It was time for me to take on the lawn removal project that I had been quietly planning for the better part of two years.
 |
| excavation for retaining wall and pilasters |
The first thing to do was to excavate for the footings for the retaining wall. It took me a few afternoons, just me and my shovel, to dig out some nice rectangular trenches, about 8" deep across the front of the yard. I used a posthole digger to dig the footings for the pilaster, going down 4 feet to get below the frost line (not entirely necessary, I know, but I wanted to make sure my work lasted). And yes- if you aren't from Minnesota- the ground does freeze to a depth of four feet in a cold winter here. Which this one isn't. But it can.
 |
| filling the trench with crushed limestone |
Once the trenches were dug, I filled them with crushed limestone- what's usually referred to here as 'Class 5' crushed rock. It's an angular crushed limestone mix, with aggregate and sand which compacts into a crunchy, semi-permeable surface familiar to all those who have driven on a gravel road at some point in their life. I packed each wheelbarrow load down with a hand-held plate compactor to make sure it was good and firm and jumped on it a few times for good measure.
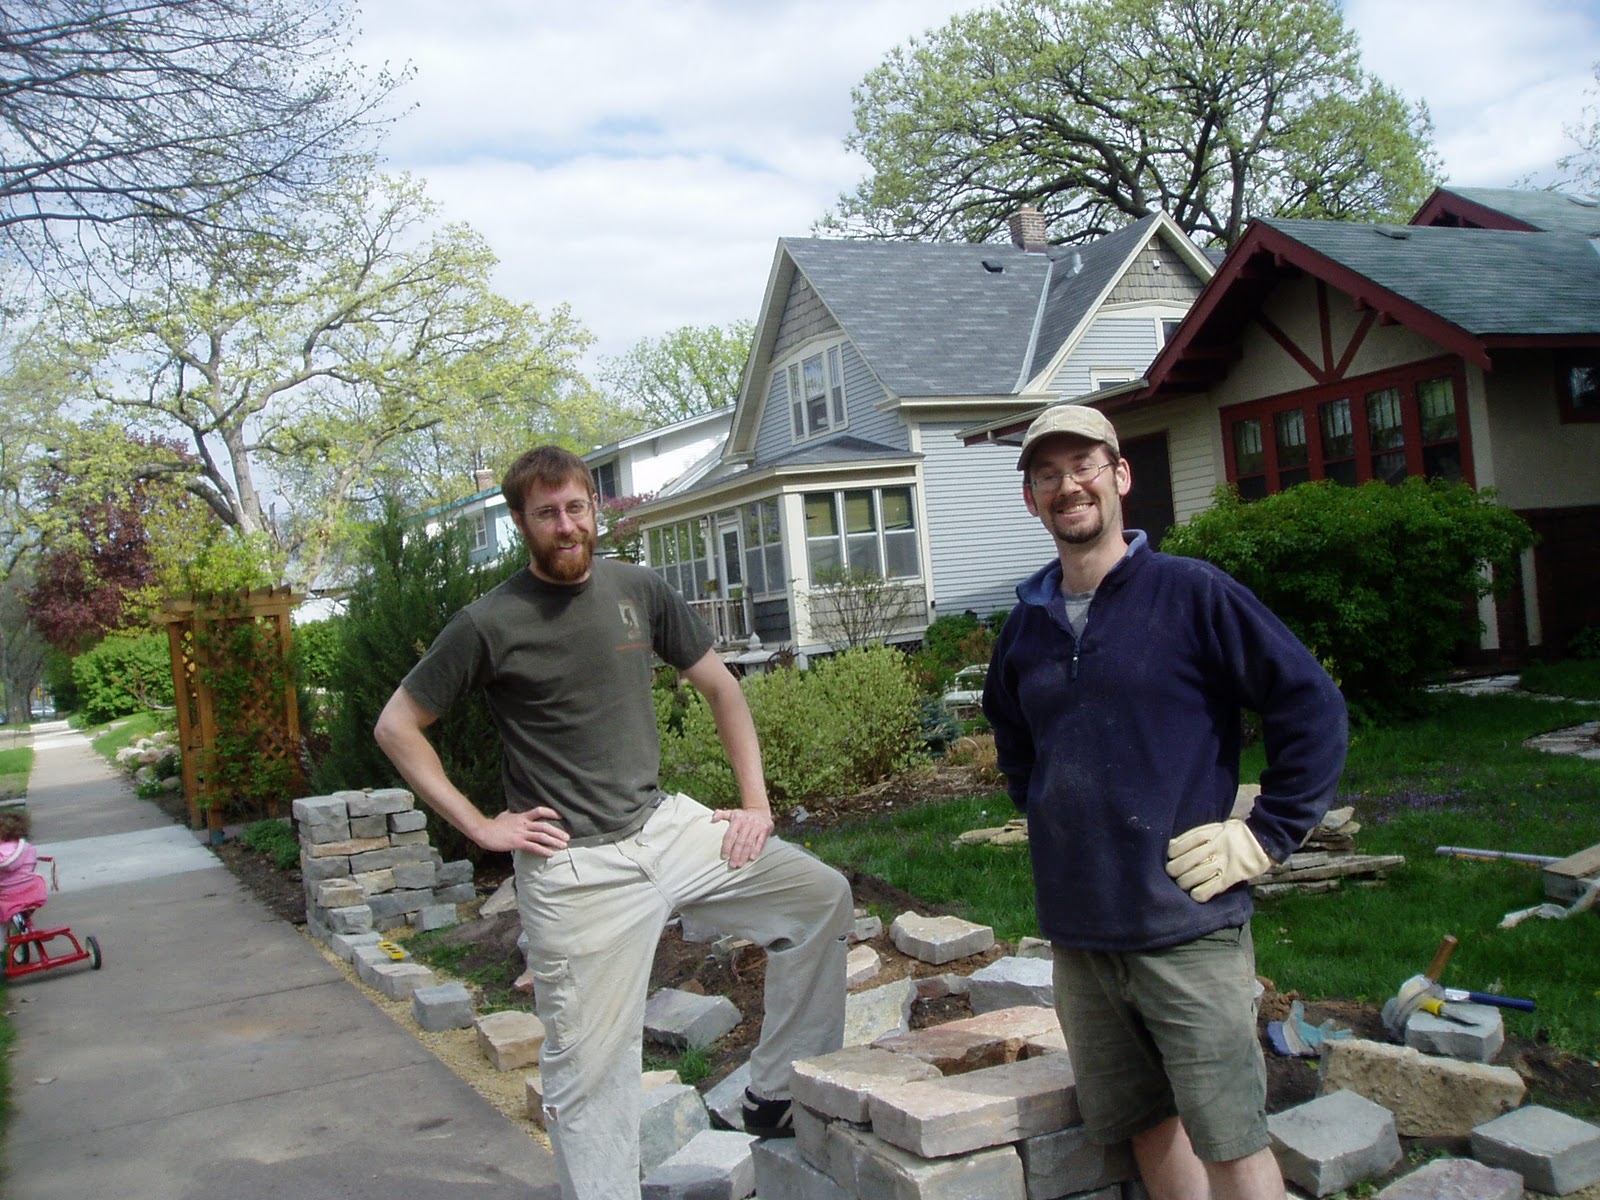 |
| My co-worker Brian and I, laying snapped chilton limestone in pilasters and walls |
 |
| the messy front yard in process |
We had a neighbor from across the street tell us that just having the stones in piles on our lawn looked better than it had before, as a all-grass yard. That's when I started feeling that this was going to all work out just fine.
We finished the wall in a matter of a month or so, then started to work on the lawn. I started by mowing it as short as I could with the mower. Then I sprayed the whole thing twice over the course of a week with a mix of concentrated vinegar, mixed with a little dish soap, and some lemon juice. It had been a dry spring, so the mix was pretty effective at killing back what top growth there was.
After the grass looked mostly dead, I started in with my shovel, methodically turning over each part of the lawn, turning the brown side up and green side down. By the end, it looked like a lumpy cow pasture.
I left it that way for a few days while it dried out some, then attacked it with a rake, and occasionally with a pickaxe to smooth it all out, pulling out clumps of surviving grass wherever I found them, and sending them to the compost pile.
 |
| two weeks after completion |
Most of the area got mulch and plants. It just so happened that we got our first really significant rain of the season the day the mulch was delivered, and I had asked the driver to dump it in the street in front of our house, knowing that I could move a 6 yard pile of mulch in a day, no problem.
With the rain, it was a problem, and the mulch was starting to back the street drainage up in a little pond and worse, started to wash into the catch basin. So I spent most of the day moving mulch in the rain and cursing the day I decided to take on this project.
The same day, I sowed the 'no-mow' fescue mix that I had bought online from Prairie Nursery in Wisconsin. I figured you couldn't get a better day to sow grass seed, so I scattered a bunch of it and hoped for the best.
As it turned out, the no-mow grass really liked our yard. Within a few weeks, it was greening the yard quite nicely, and by the end of the summer was a lush carpet. I mowed it a couple of times that year, and continue to mow it a few times a year now, but spend much less time on it than I did our conventional lawn previous to the overhaul.
Now, three years later, it's hard to imagine not having done it. The photos tell the story. Each year adds some new growth to the magnolia and the serviceberry and the cherry tree. The currants are producing now, and the hostas have filled in. Instead of a patch of grass and creeping charlie, we have a little oasis which we never fertilize and rarely water.
I killed my lawn and I'll do it again. Maybe a part of the backyard this year. Maybe the side yard. I won't regret it at all.
 |
| and a close-up of the no-mow fescue by late summer that same year |
 |
| after the plants had a few months to grow . you can't tell me that the all-lawn 'before' picture looks better than this. |
RIP old lawn.... long live the new yarden!!
ReplyDeleteI am amused that the before picture is winter and the after is summer. But I know the "after" would look better in any season.
Nice!
ReplyDeleteJeff, how much did this cost, if you don't mind me asking?
ReplyDeleteI've been contemplating doing this to my yard, thanks to flooding issues, but have been shuddering at the cost.
John- It's true. I cheated a little bit by taking the 'before' photo during a dry spell in early spring. It's the only good before picture I have though, and it's too late now to take another one. I'll take another 'after' photo this summer and post it. It's amazing what a few years can do to saplings.
ReplyDeleteAmy- Thanks for the comment!
Sarah- It was dirt cheap for the most part- no pun intended. The limestone was the only costly part. I think I paid $300 a ton, plus $120 for each of the pilaster caps and a hefty delivery fee of a couple hundred bucks. I used 4 tons if I remember right, but supplemented that with a ton or two of scavenged old limestone taken from a pile someone wanted to get rid of at a cost of about $40 for heavy pickup truck rental. I didn't use any mortar, so no cost for that. I ended up with 4 cubic yards of class 5 crushed rock for the base ($150 plus delivery) and had some extra to use on projects in the back yard.
My other costs were:
Cedar mulch- about $300 delivered.
Plants- I relocated most from the backyard and got some divided perennials from neighbors. I think I spent $250 on new bare-root plants that I ordered, including the roses. The serviceberry was from a nursery and set me back another $100 or so.
Fertilizer- almost nothing. The native soil was incredibly rich and I removed very little biomass, preferring to turn it over to compost over time. I put some slow-release fertilizer that I had gotten for free at work around the roots of the roses and haven't fertilized them since.
The shovel I already had, and a sympathetic neighbor lent me his 'mantis' tiller when I was almost done, but I honestly could have done the job better and almost as fast if I had used a shovel for the whole thing.
If I hadn't done the stonework I could have easily done this for somewhere between $500 and $1000. But I love stone walls- and they've endured, so I consider it money well spent.
I was looking closely at those walls this weekend, when you went back inside for staples and I was sitting in the car. Nice work, I remember thinking.
ReplyDeleteBeautiful! Nice work. I am doing something of the sort here in Florida with wildflowers. Thanks for the inspiration.http://myfloridameadow.wordpress.com/
ReplyDeleteReally pretty! Love the no mow lawn, the wall and how you have created a beautiful space! I really like your solution for the street tree. Mulch and stone to walk on. Simple and much prettier and healthier for the tree.
ReplyDeleteA lot of the young guys whom I work with shudder at not having a "perfect" lawn. I can't imagine why they would waste so much time, chemicals near their small children and pets, when they could have a healthier yet beautiful life.
ReplyDeleteThank you commenters! There has been a surge lately in people viewing this post, so I'm glad to see there's so much interest in converting lawns to something nicer looking and more useful.
ReplyDeleteI'm not sure why so many young guys (like about my age or younger) want perfect lawns. It's a lot of work and potential damage to your family's health for what? An outdoor carpet? What a waste of time and resources. If I'm going to work that hard, I want to have the result look like something I can be proud of, rather than a rug.
I’m glad that you came up with that idea. You have a lot of space in front of your house, and it would be a waste if you just left it as before. The plants and new greenery definitely added to your home's curb appeal. Well done!
ReplyDeleteMike Mcmillen